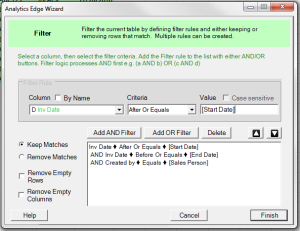
 The Analytics Edge add-in for Excel lets you easily filter data in a table. The simple wizard interface lets you construct a series of filter rules without programming or formulas. Use it with other Analytics Edge functions to simplify and automate your Excel reports.
Using the Filter Function
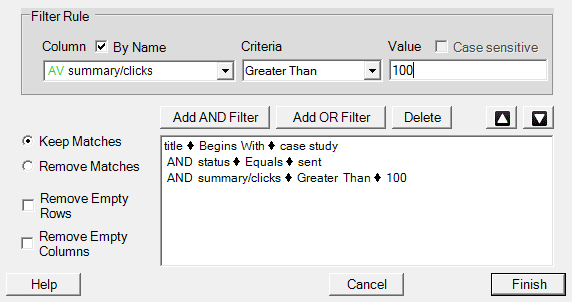
Once you have loaded your data with the add-in, the Filter function wizard lets you build one or more filter rules simply by selecting the column, the criteria and entering a value. Options allow you to either keep or remove rows that match the filters, as well as to remove empty rows or columns.
Selecting Filter Criteria
Creating a new filter rule starts with selecting a column, either by name or by position (column letter). Selecting by position is useful when the column names might change from month to month.
The criteria options will change depending on whether the column you select is text, numeric or dates. For text columns, you can test for whether the column begins with, ends with, contains or equals a value you enter, or whether it is empty. You can also make the test case sensitive, meaning to treat differences in upper and lower case as different values (e.g. “Sent” is not the same as “sent”).
Numeric columns can be tested for greater than, less than or equal to a number you enter. Date columns can be tested for before, after or equal to a date entered.
Once you have the rule set, click the [Add AND Filter] button to add the filter rule to the list. More rules can be added in the same way, using the [Add AND Filter] button if you want both rules to match, or the [Add OR Filter] button for either.

Note that AND has precedence, meaning that the AND logic will always be checked first, then the OR comparison. e.g. criteria A OR criteria B AND criteria Cwould be evaluated as either (criteria A) OR (criteria B AND criteria C).