The filtering capability in Google Search Console is very restrictive (single phrase match), making it useless for separating branded from non-branded search terms in all but the simplest cases. Enter the Analytics Edge Core Add-in — a quick regular expression filter and your work is done.
 Branded Queries
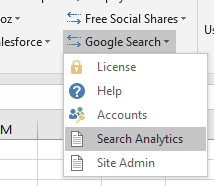
Creating a list of branded queries and non-branded queries is an easy thing to do with the right tools. Start a Google Search > Search Analytics query [with the Core Add-in, select Quick Query].
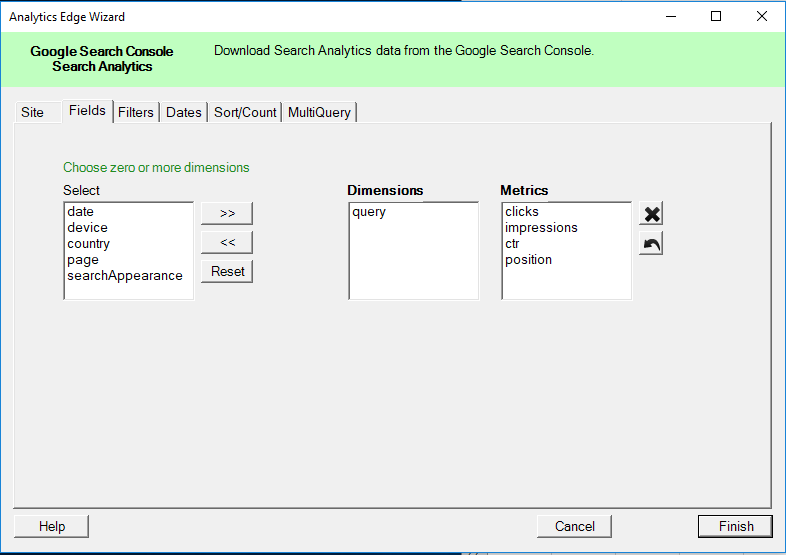
In the Google Search connector wizard, pick your account and website, then add the ‘query’ dimension, and set your desired date range. Finish the query.
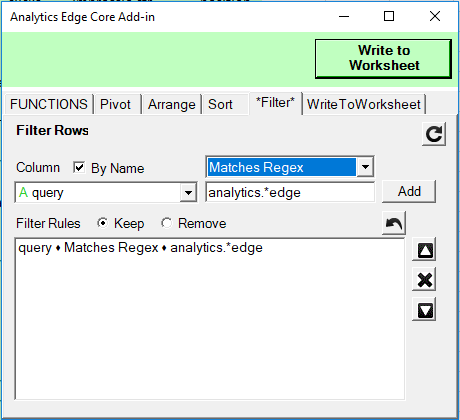
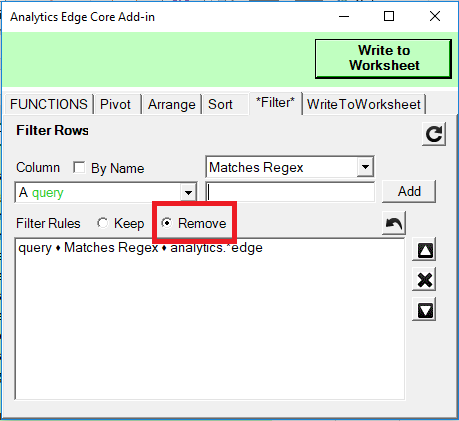
When the results of the query are returned, the Functions wizard will pop up. On the Filter tab, select the ‘query’ column, ‘Matches Regex’ condition, and enter the regular expression you want to use to match your brand. Click the Add button, then the Write to Worksheet button.
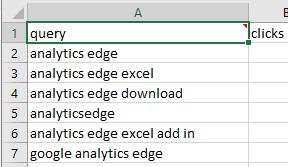
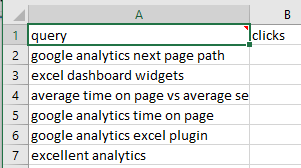
That’s it — a list of branded search queries!
Non-Branded Queries
For non-branded queries, copy the query to another worksheet [Edit Query > Copy / Edit Query > Paste], then select the new query cell and Edit Query. Click Finish on the Google Search wizard (no changes to the query are necessary), and when the Functions wizard opens, click the Filter tab. Change the ‘Keep’ option to ‘Remove’, then click the Write to Worksheet button.
Now you have non-branded queries as well!
Refreshing Your Report
Now that you have built your report, refreshing is as easy as clicking Refresh All. Both queries will update with the most recent results.
Hint: Select the date preset for Last Calendar Month, and your monthly report is always ready to go! Caution: Google Search Console data is not available for a few days, so wait until the 3rd of the month before running your report, or accept that you will miss a bit of data.